[[posting this for Bella]]i'm going to tell you all right now how to insall a font :)it's easier than it seems~first, find a font websitei normally use Dafont.com, which has a huge variety of free fonts :)
its already conveniently organized into themes :Di chose: Gothic <3i love gothic fonts ^^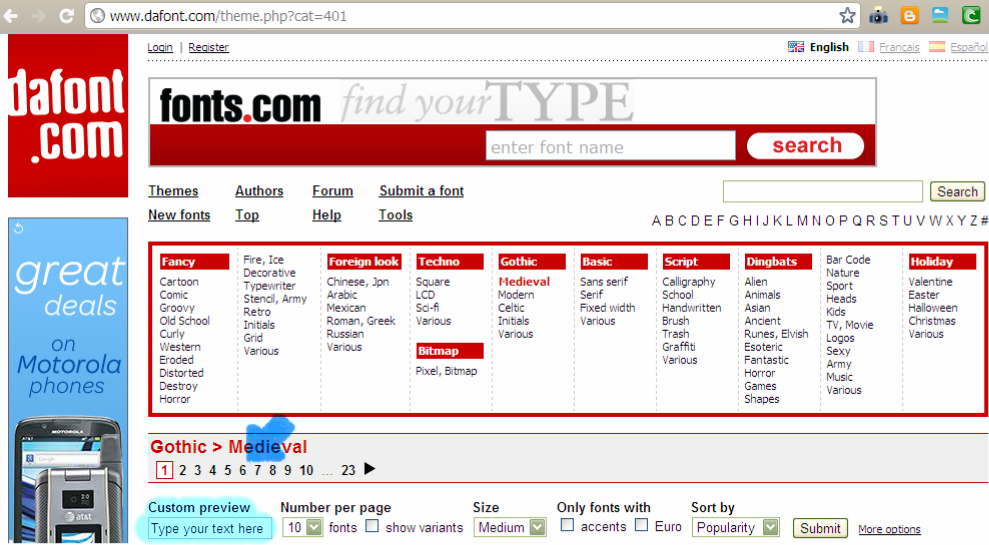 where it says type your text here, you can type in your words and preview even better.
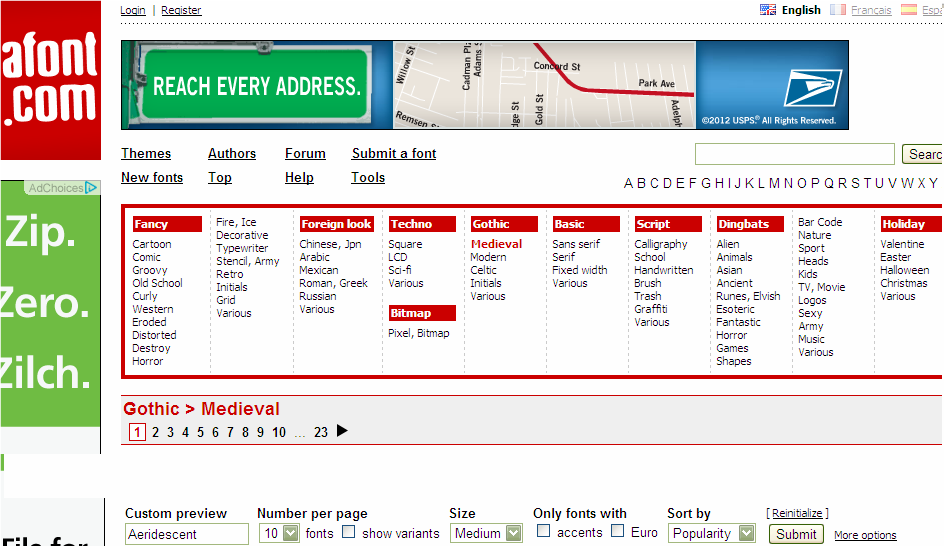 i used my blog name~now scroll around till you see a font you like~
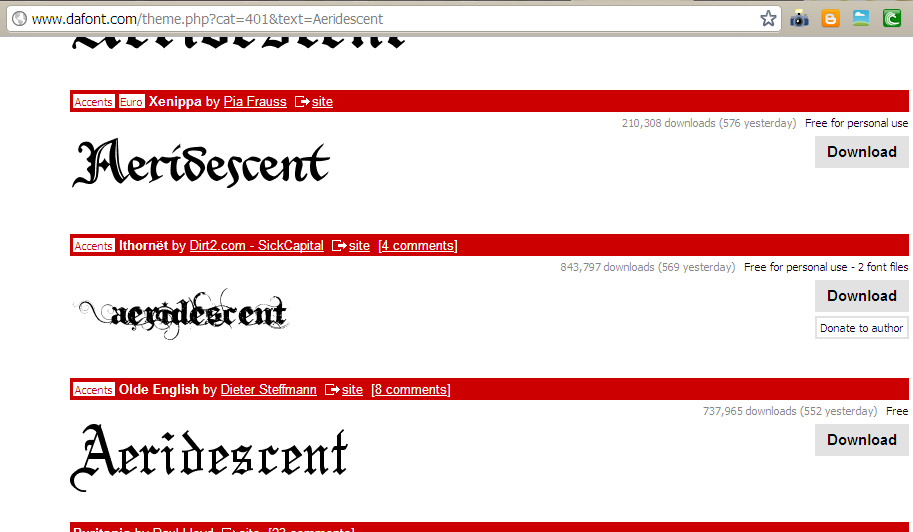 found one~!
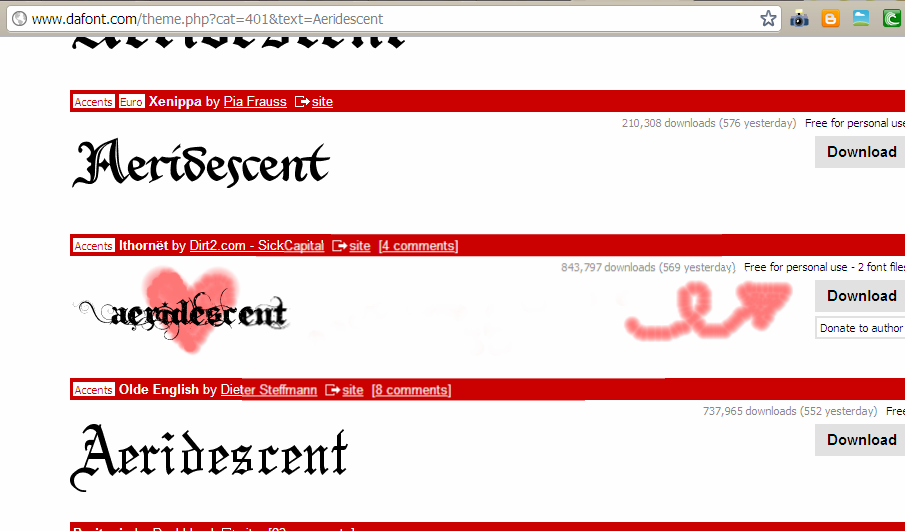 click "download" and it will autosave to your PC.i might use it next time i do a banner :)use your file extractor to unzip the file, normall jZip:
click "non commercial use" folder and select the font files, then click extract
it'll tell you to choose a folder, just pick a place easy to find.
open that folder, select the font files and press Ctrl+X to cut.
now, open your Control Panel.
click "appearance and themes" then "fonts"
and press Ctrl+V to paste the files.
wah-la!
you should be able to use font now in word and editing programs :)
also, the editing sites "pixlr" and "sumopaint" allow you to use fonts on your computer in thier apps.
i used sumopaint.com and a font on my computer to make this:
nifty, huh :)
have fun!

![[[ ✖ p o i z o n b ℯ r r y ✖ ]]](https://blogger.googleusercontent.com/img/b/R29vZ2xl/AVvXsEgG8DQrWx0HkloFiAdAsIOngprf4bfsGAPr-PELnGWYsvPPkXf09n18cy9Pnh3_clqzTC1-2gKy3zva6iCp4XaQ4JJpq3oY3NFAUelk5Cz-KLQlqLg8O9I7ICloPRV7Tth6OJcvBACba6c/s948/azzypoizon1.png)


attractive blog :) ♥
ReplyDelete